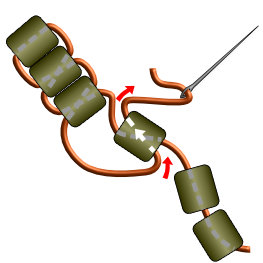
Ladder Stitch
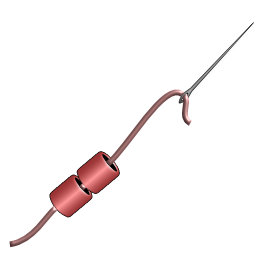
Start by picking up two beads.
Stitch back into the bottom of the first bead picked up.
Pull the thread snug, both beads should rest side by side.
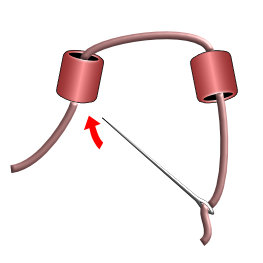
Stitch down through the second bead.

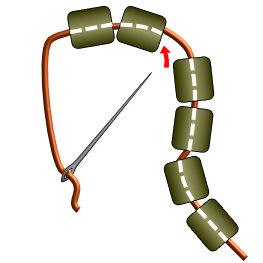
Pick up a third bead.
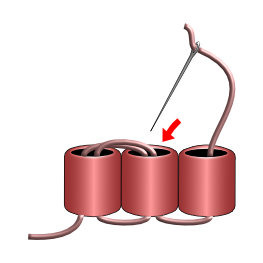
Stitch down through the second bead again.
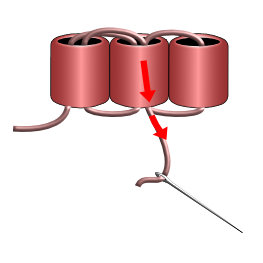
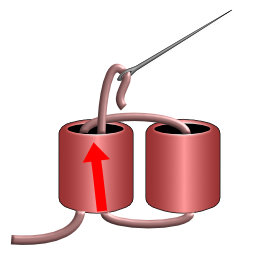
Pull the thread snug, tightening the third bead next to the second.
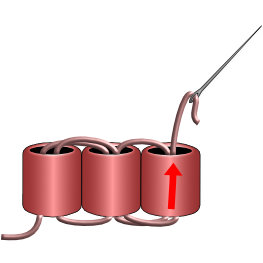
Pass back up through the third bead.
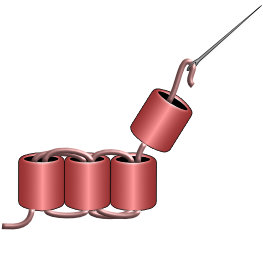
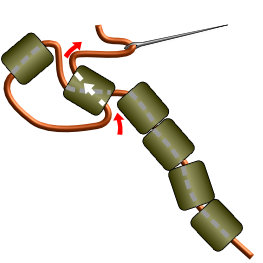
Add a fourth bead to the thread.
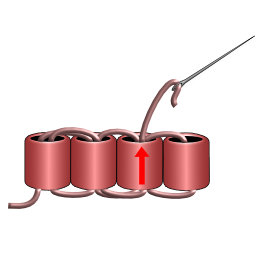
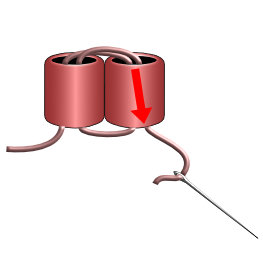
Stitch up through the third bead to secure, pull the thread snug.
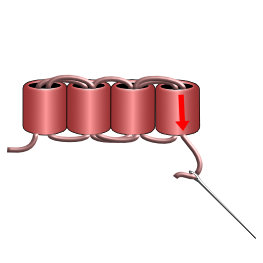
Pass back down through the fourth bead.
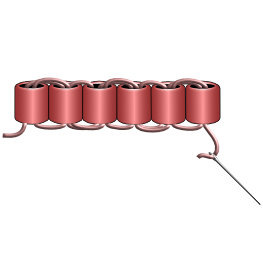
Continue stitching in this manner until the final length is reached.
Alternate Ladder Stitch Directions
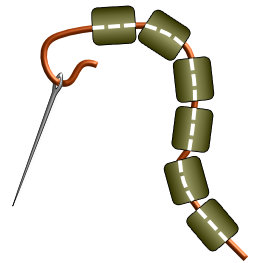
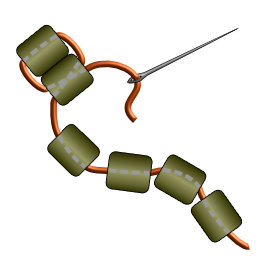
String an even amount of beads onto the thread, for our example we will be stitching in rows of six beads.
To create the first row, stitch through the bottom of the second bead.
Be careful not to split your thread when passing through the bead.
As you pull the thread tight, the two beads will stack side to side.
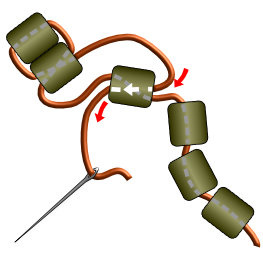
Pass through the bottom end of the third bead.

Pull the thread tight to align the bead.
Pass through the bottom end of the fourth bead and pull tight.
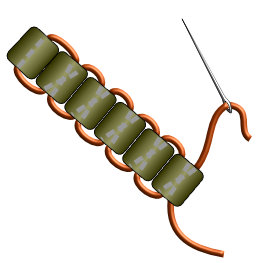
Repeat for all six beads.
Try these ladder stitch projects: