Crimping Instructions
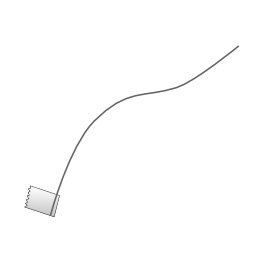
Cut the beading wire and fold a piece of tape over the end to keep the beads from sliding off while stringing.
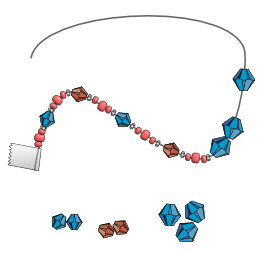
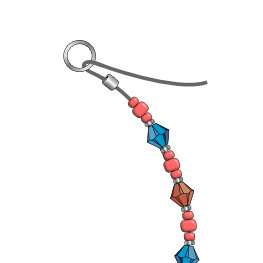
String beads onto the beading wire.
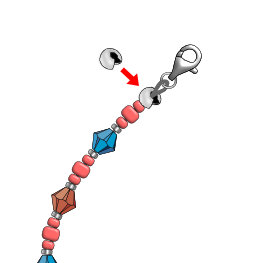
String on one crimp and the clasp.
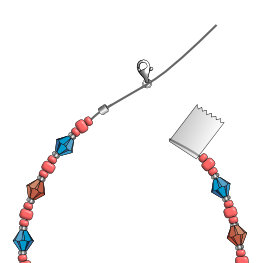
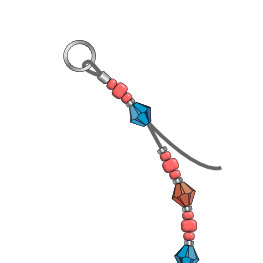
Pass the beading wire back through the crimp and several of the beads.
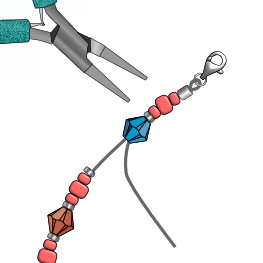
Slide the crimp and beads up towards the clasp to shorten the loop at the clasp.
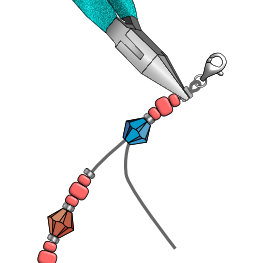
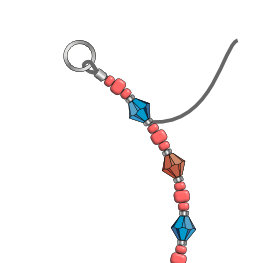
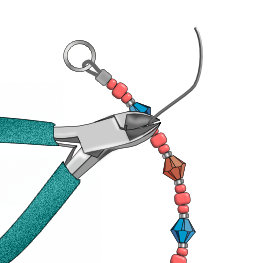
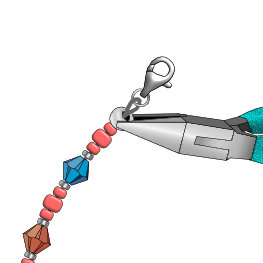
Using flat nose pliers, flatten the crimp so that both strands of beading wire are parallel, not crossing over each other inside the crimp.
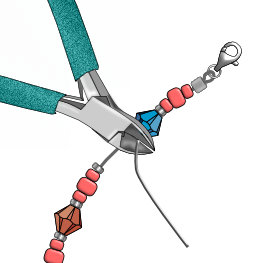
Trim the extra wire and slide the beads toward the finished end.
Remove the tape from the second side.
String on one crimp and the other side of the clasp.
Pass back through the crimp and several beads.
Pull the end of beading wire to tighten the beading wire loop at the clasp, checking to be sure there is no exposed beading wire on the rest of the project.

Using flat nose pliers, flatten the crimp, making sure the beading wires do not cross over each other inside the crimp.
Trim the excess beading wire, getting as close as possible to the beads.
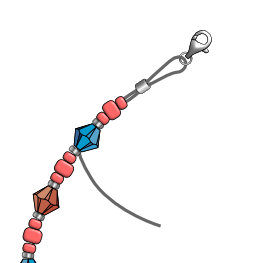
Place a crimp cover over the crimp bead.

Using flat nose pliers, gently press the crimp cover from the top and bottom. Be careful not to catch the beading wire in the edge of the crimp cover.
Turn the pliers and gently press the front edges of the crimp cover together to form a more rounded shape.
Add the crimp cover on the opposite side.
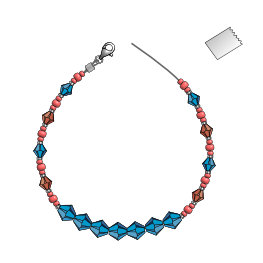
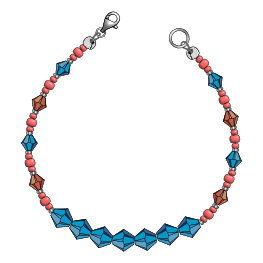
Try these crimping projects: