Wrapped Loop Instructions
Wrapped loops are very strong and are perfect for earrings, linked chains, and attaching cones.
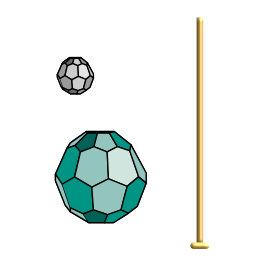
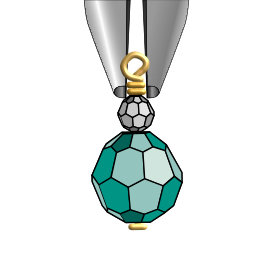
Start with one headpin and two accent beads. You will need two flat nose pliers, one round nose pliers, and one wire cutter.
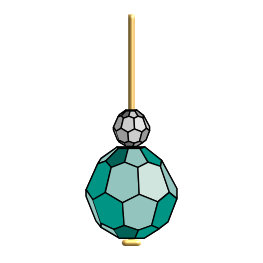
Stack the beads on the headpin.
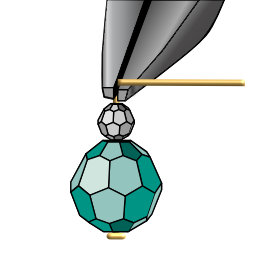
With flat nose pliers, hold just above the bead and press the wire over with your finger to form a 90° angle.
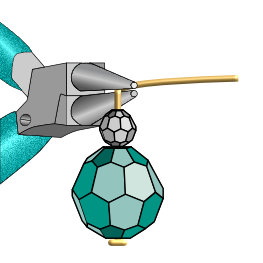
With round nose pliers, lightly grip the wire at the angle.
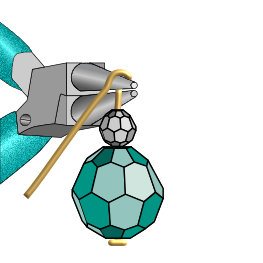
With your fingers, press the wire over the top nose of the round pliers until the wire has formed half of the loop.
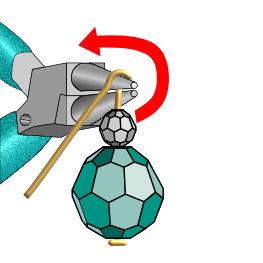
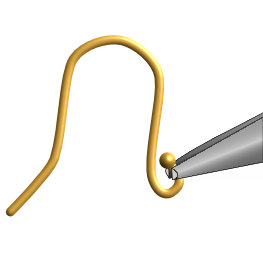
To complete the loop, rotate the pliers 180° so the top nose is now at the bottom and the bottom is now on top.
Example of the round nose pliers after changing position.

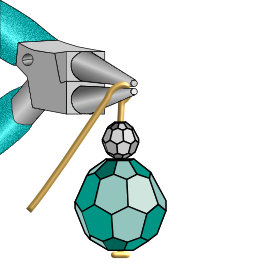
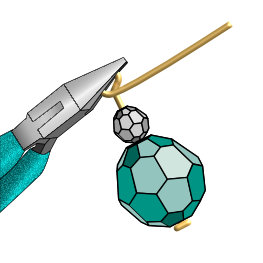
Wrap the wire down and around the bottom nose of the round nose pliers until it is perpendicular to the beads.
Remove the round nose pliers from the loop.
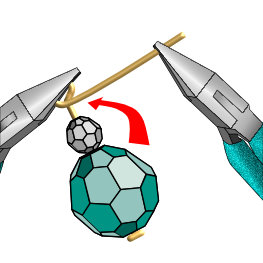
Using flat nose pliers, grip across the loop to help keep the shape while completing the wrapped loop.
Using a second pair of flat nose pliers, slowly wrap the wire around itself.
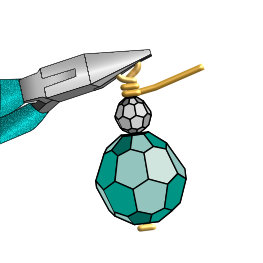
Continue wrapping until you have reached the bead.
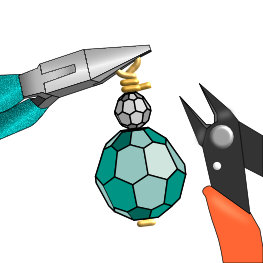
Using wire cutters, trim the wire.
Switch back to the flat nose pliers and gently tap the tail into place, being careful not to chip the bead.
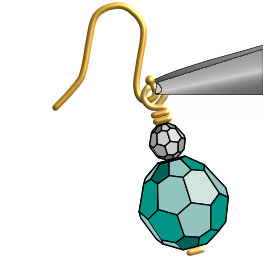
Open the earwire loop by using flat nose pliers and twisting the loop to the side. This helps keep the shape of the loop.
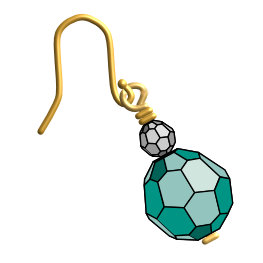
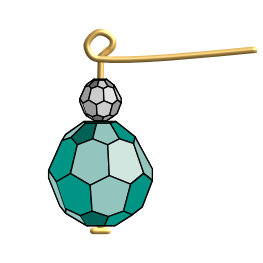
Attach the wrapped loop by sliding it onto the earwire.
Close the earwire loop with flat nose pliers, being careful not to change the shape of the loop.
Free wrapped loop projects: