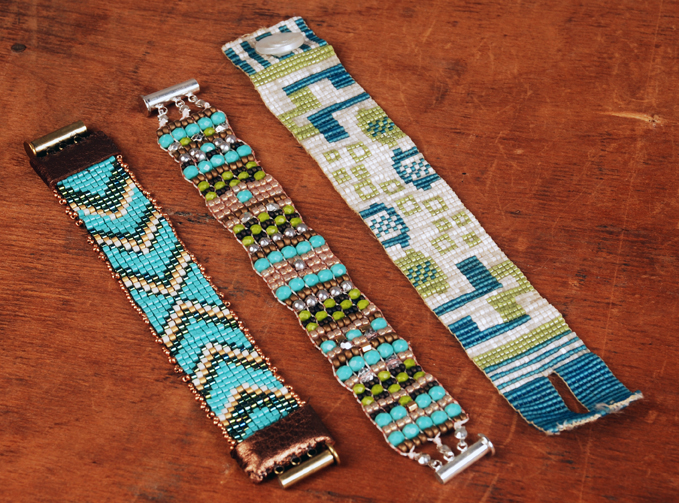
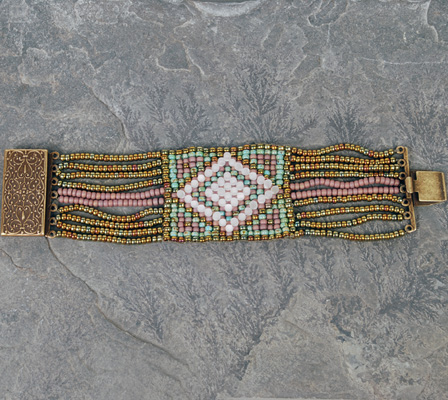
Loom woven beadwork is so much fun to create! When working on a loom your beads will line up perfectly in straight rows both horizontally and vertically. This enables you to create a variety of designs, patterns, and images that are not as easily accomplished with handwoven bead stitches.
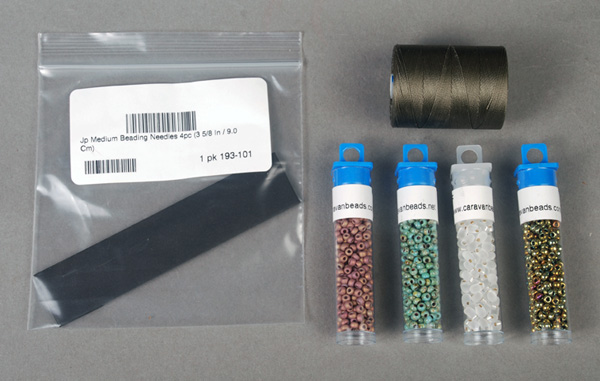
Materials:
8-2331: 8/0 Matte Met Dusky Clay AB Miyuki Seed Bead - 1 tube
8-4514: 8/0 Op Turquoise Blue Picasso Miyuki Seed Bead - 1 tube
8-1981: 8/0 Nickel Plated AB Miyuki Seed Bead - 1 tube
LDP-1F: Miyuki 3x5.5mm Long Drop Bead Matte S/L Crystal - 1 tube
CLMC-OL: C-LON Micro Cord Olive - 1 spool
193-101: Japanese Medium Beading Needles
193-200: Big Eye Needle 1pc (2.25 in)
520-124: Hypo Cement Jewelers Glue
505-015: Tweezer 4.5" Micro Tip
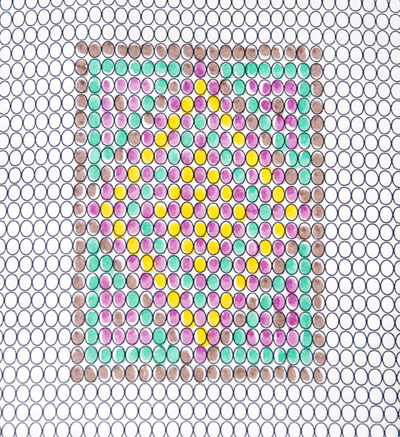
I find it helpful to use some graph paper to plan and layout my design before I get started. When you are ready to begin you must warp (add the base threads) your loom. This technique will depend on the type of loom you are using. Follow the warping directions that are included with your loom.
You will want to adjust your cord size depending on the size bead you are using. I found the C-Lon Micro cord to work wonderfully for this application.
It made a sturdy structure for the warp threads and also worked well as
the weft (the weaving thread you will use to add your beads) with the size 8/0 Miyuki seed beads.
Once you have warped your loom, take approximately 48” of the micro cord to be used as your weft thread and thread your needle onto one end. We used the medium Japanese beading needles (193-101). Measuring just over 3.5” in length, these needles allow you string through all of the beads in one pass as you add them to the loom.
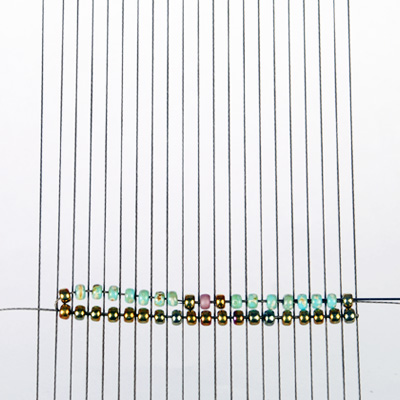
To start your first row pick up 19 of the 8/0 seed beads (shown here in 8-1981). Lay the beads on the warp threads (from above) so that each bead is separated by one
of the threads. Gently push the beads against the warp. Using
your beading needle string back through the beads on the underside of
the warping threads securing the beads into place.
**Note: Alternatively you can bring your beads
onto the warping threads from the below and pass the needle through
them on top of the warping threads to lock them into place. However, I
found that because of the size of this piece, and the inclusion of drop
beads, it was easier for me to lay the beads on top of the warp threads
and stitch them into place with the left thread from the underside.
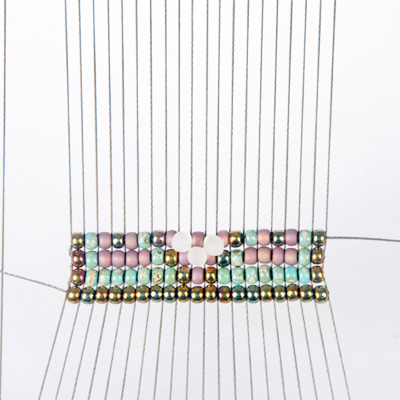
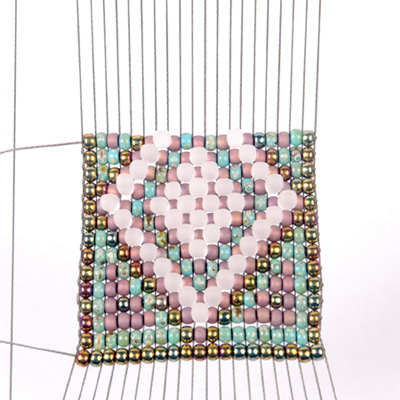
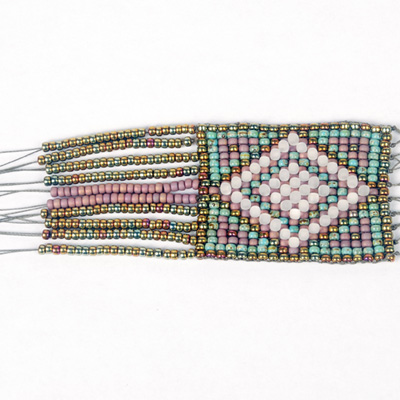
Following the pattern you have laid out on the graph paper continue to add beads. The beads on the first two rows may look a little spread out depending on the loom you are using.
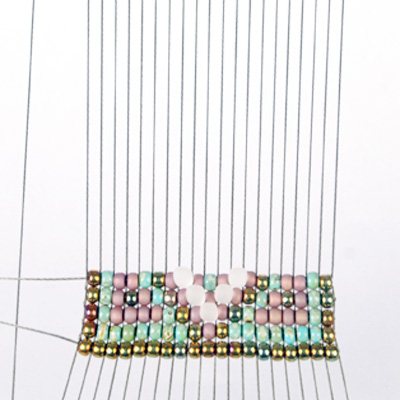
You will want to pull your thread taut to cinch up the rows, this is especially important for the first three or four rows. Once a good even tension has been established it is easy to maintain throughout the rest of the piece.
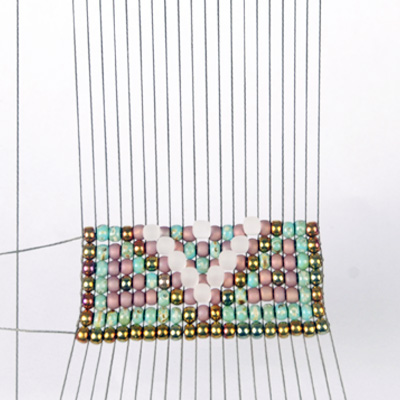
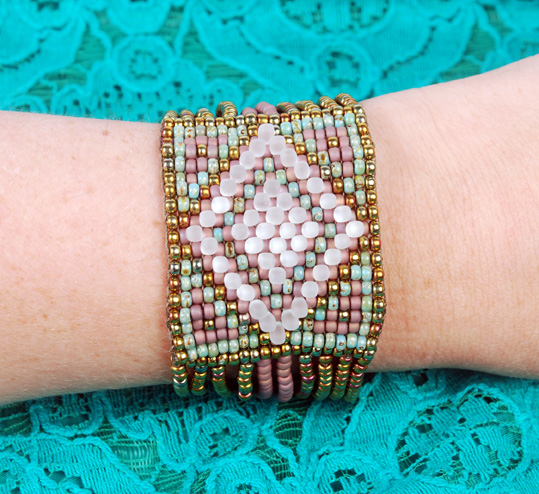
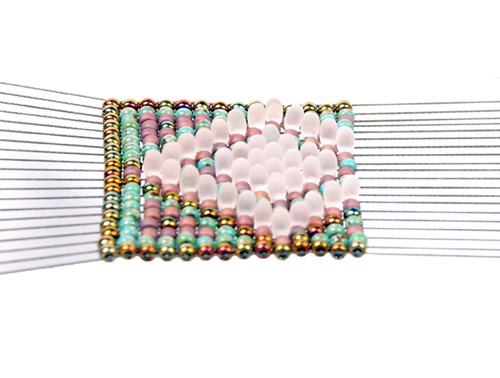
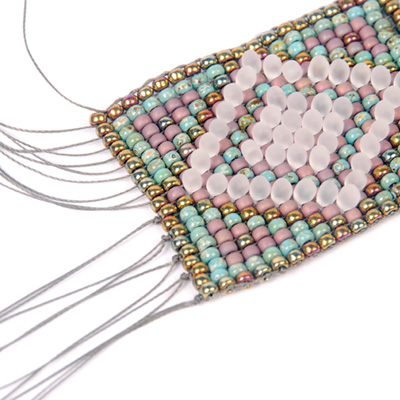
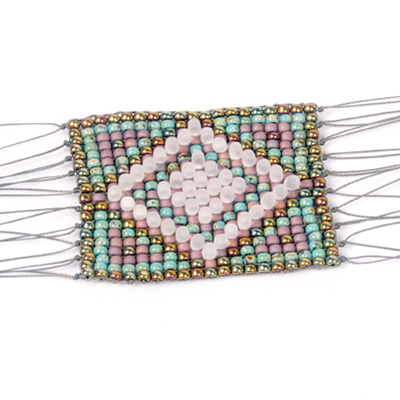
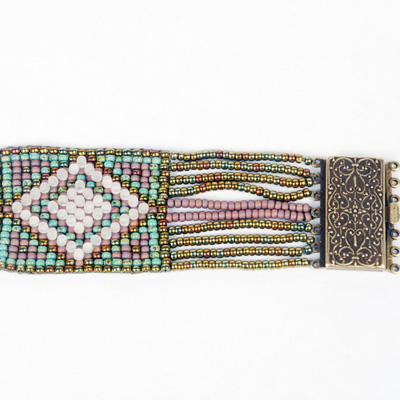
Continue adding beads and following along with the pattern you have designed. For this project I have included some Miyuki long drop beads. They fit nicely between the 8/0 seed beads and add a wonderful textural element to the beadwork.
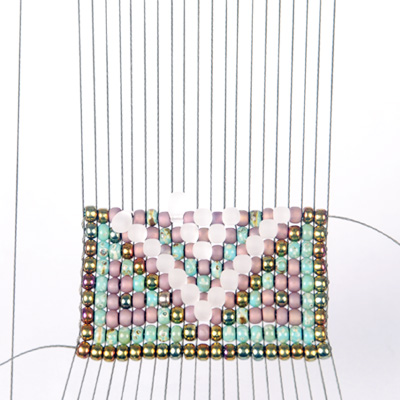
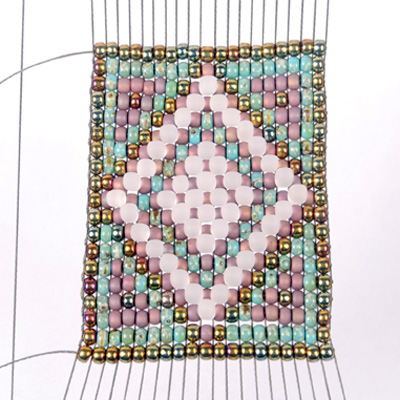
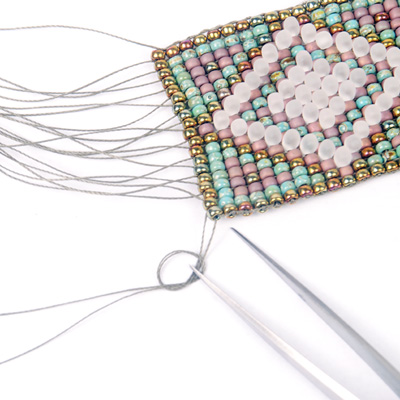
Once
your pattern is complete you can remove it from the loom. Again the
technique used to remove the beadwork from your loom may depend on the
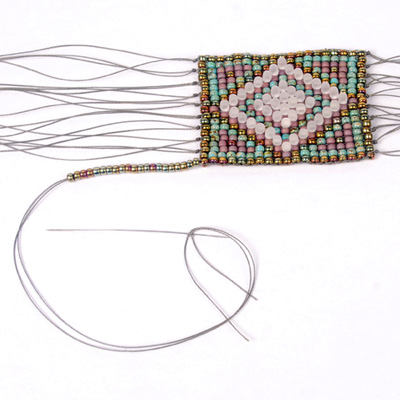
type of loom you are using. We cut our warp threads, making sure to
leave as much thread on each side as possible (and even amounts on each
side) because we will be using them to string the rest of the bracelet.
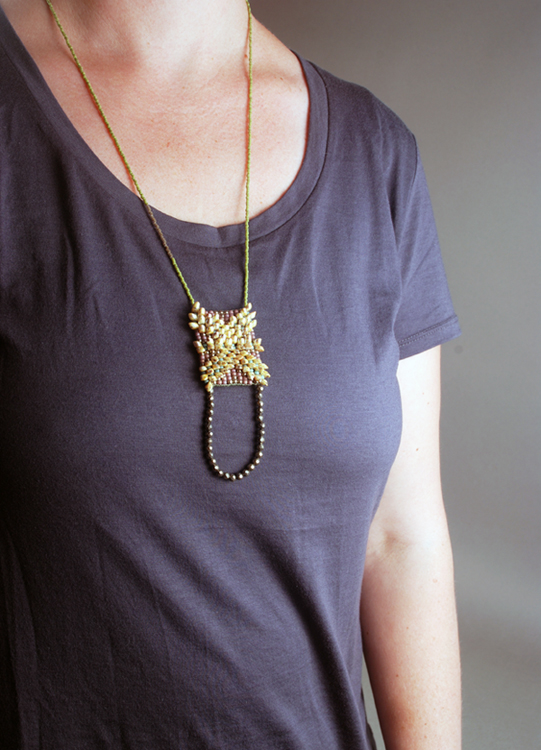
There are many ways to finish off loom woven beadwork. With this design I incorporated the warp threads into bracelet so you will want to leave 4-6” of warp threads on either side of the bead woven portion to work with.
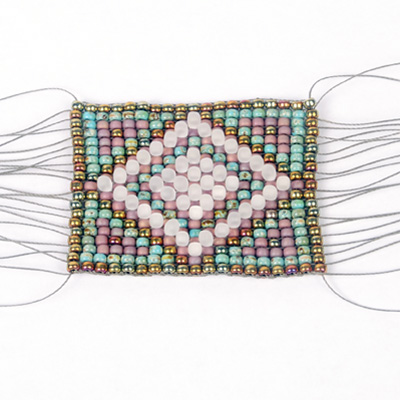
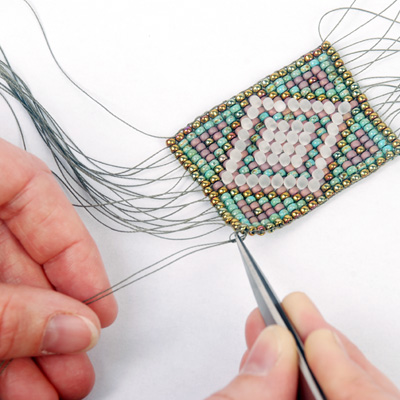
Weave the two weft threads back into the beaded portion. Work from side to side for a couple of rows before trimming off. Be mindful of not pulling too tight as this will disrupt the tension of the loom work.
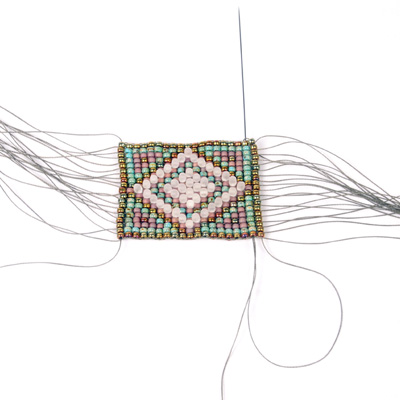
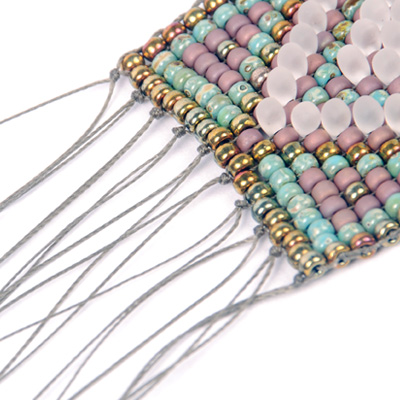
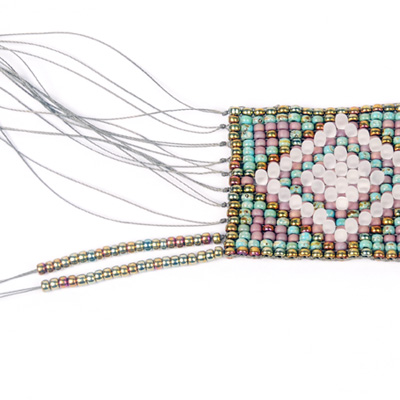
Now tie every two of the warp threads together in an overhand knot. The knot should sit right at the top of the 8/0 beads in your edge row.
I like to use a pair of fine tipped beading tweezers to guide the knot into place.
Continue this method until all of the warp threads have been tied together in pairs on both sides of the beadwork.
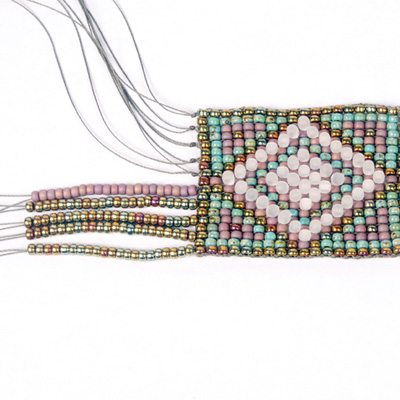
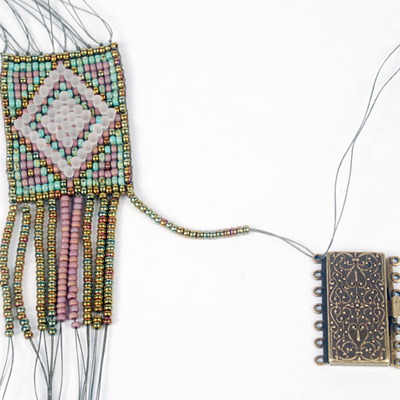
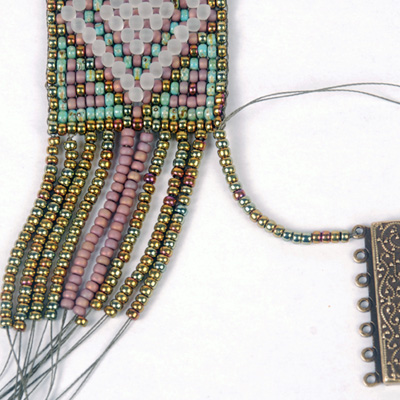
You will then thread one set of warp threads onto a big eye needle (193-200). String on enough 8/0 seed beads to accomplish the desired bracelet length. Remember to take into consideration the size of your clasp when determining size. I added 21 beads to each pair of warp threads.
With a little nudging the 8/0 seed beads will cover the knot made at the base of the threads. This creates a seamless transition from the loom woven beadwork to the strung bracelet portion.
String beads onto all of the warp thread pairs.
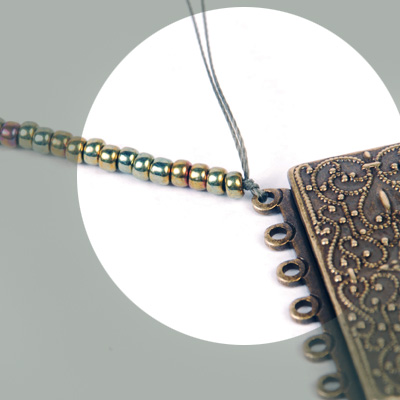
Loop the thread through the clasp and cinch the beads up close to the
clasp.
This can be accomplished by bringing your needle and
thread between the two warp threads exiting the strung beads.
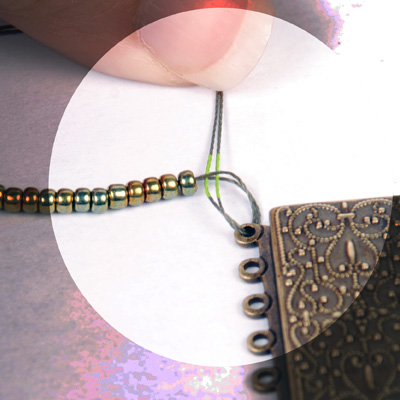
Make an overhand knot to secure the thread to the clasp.
Weave the thread back down through the beads and knot once more.
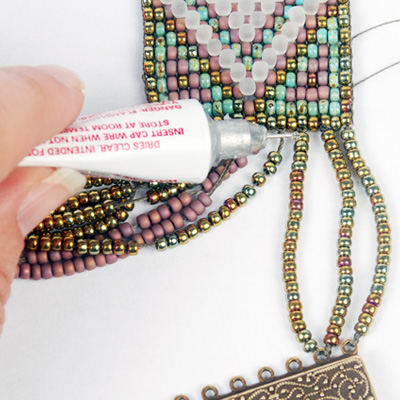
Apply a dab of Hypo Cement and trim the thread.
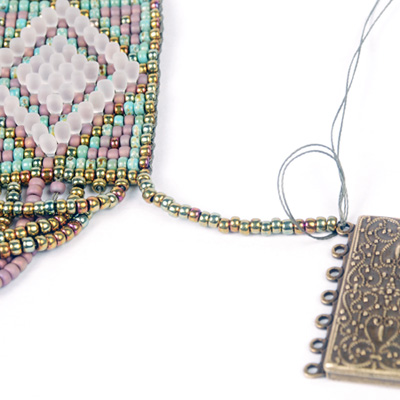
We used a seven strand clasp and found it necessary to attach two strings of beads to every other loop on the clasp.
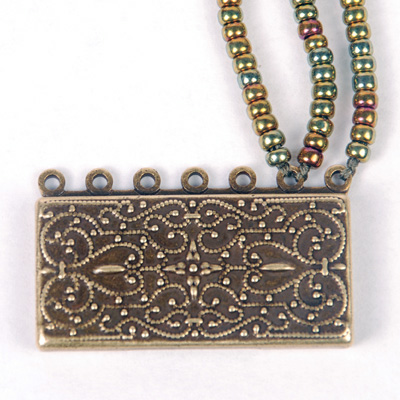
Continue to do this for each string of beads until the clasp is fully attached.
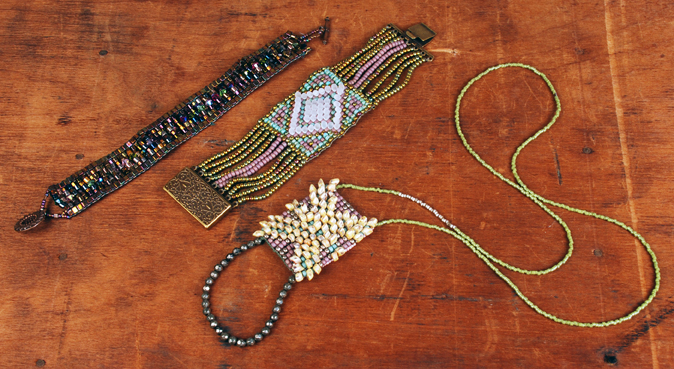
Have fun working with your loom and exploring the endless beading possibilities!