Briolette Loop
When working with beads that have a top drilled hole, briolette loops are the most common means of attaching the bead to an earwire. The size of the hole on the bead will determine the gauge of wire that can be used.
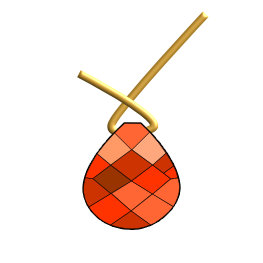
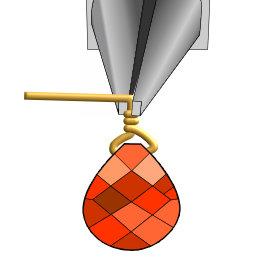
Using a piece of wire, pass through the top drilled bead so that one end of wire is longer than the other. Press the wire close to the bead and fold the shorter end of wire past the longer end of wire to create a triangle.
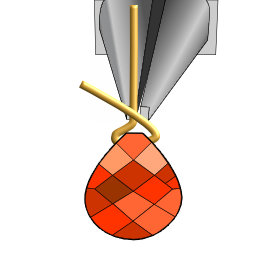
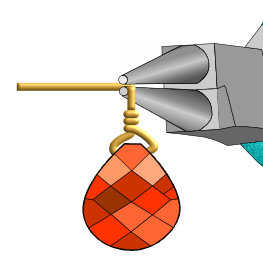
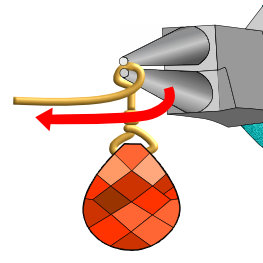
Take the longer end of wire and bend it with flat nose pliers so that it points straight up directly above the center of the bead.
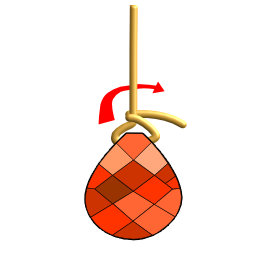
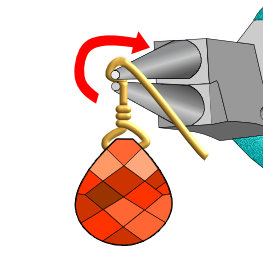
Wrap the shorter end of wire around the longer piece of wire.
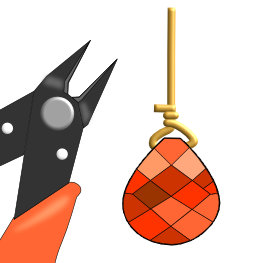
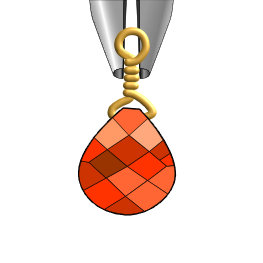
Wrap two or three times and trim the end with wire cutters.
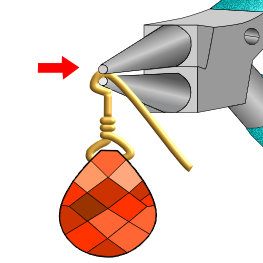
With flat nose pliers, hold just above the bead and press the wire over with your finger to form a 90° angle.
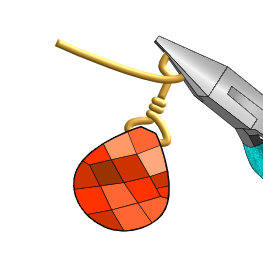
Switch to round nose pliers and lightly grip the wire at the angle.
With your finger, press the wire over the top nose of the round pliers until the wire has formed half of the loop.
Rotate the pliers 180° so the top nose is now at the bottom and the bottom is now on top.
Wrap the wire down and around the bottom nose of the round nose pliers until it is perpendicular to the bead.
Using flat nose pliers, grip across the loop to help keep the shape while completing the loop.
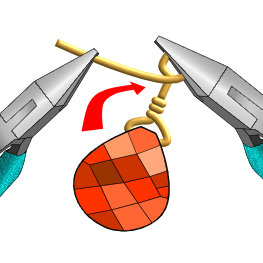
With a second pair of flat nose pliers, carefully wrap the wire around itself.
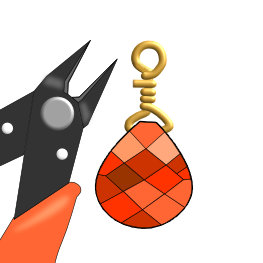
Continue wrapping until the two wire coils meet and trim the excess wire.
Gently tap the wire tails into place using flat nose pliers.