Materials:
1.5mm Leather Cord - 2ft (Greek Leather is preferred)
Button with a shank
MNT-08: Red Miyuki Nylon Beading Thread B (50m)
8-191F: 8/0 Matte 24kt Gold Plated Miyuki Seed Bead - 1 tube
TL-2040: Matte Met Brick Red Miyuki Tila Bead - 1 tube
193-105: Japanese Thin Beading Needles
505-016: Scissor Gold Embroidery
520-124: Hypo Cement Jewelers Glue

If you need a tutorial, try our Leather Wrap Bracelet Instructions.
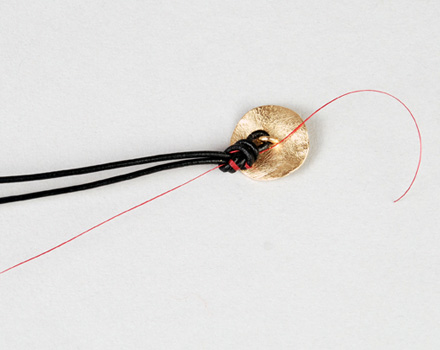
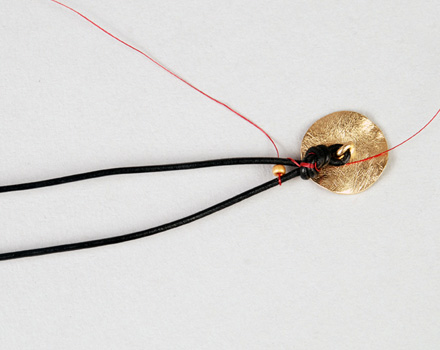
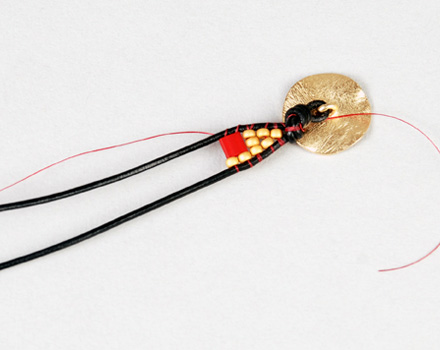
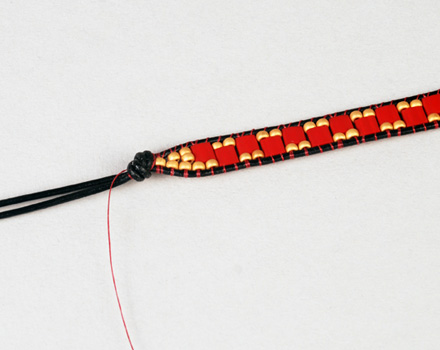
To begin, fold your leather in half and string on your button, placing it in the center of the leather. Tie an overhand knot to attach your button. Pull out an arm's-length of thread and loop one end of the thread several times through the knot, this will make a secure connection between the thread and leather. (Pro-Tip: hold the thread alongside your leather when you knot on your button. This adds extra strength to your thread attachment). Now you are ready to start adding your beads.
The basic stitch used when making a wrap bracelet is an over and under weaving technique, often referred to as “ladder stitch”. It is important to anchor the first couple of rows by stitching through the beads multiple times. This will keep your first bead(s) from sliding and disrupting your pattern as you add more beads.
Start by going under the top piece of leather. String a bead onto your thread and weave your thread over the bottom piece of leather. Go back through your bead and under the top piece of leather at least once more.
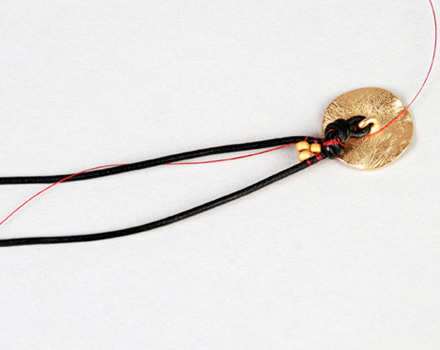
When starting the bracelet you can work up to the desired thickness by building up the beads at the beginning, incrementally adding additional beads until you reach your desired width.
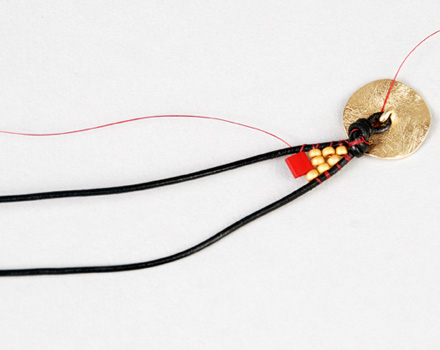
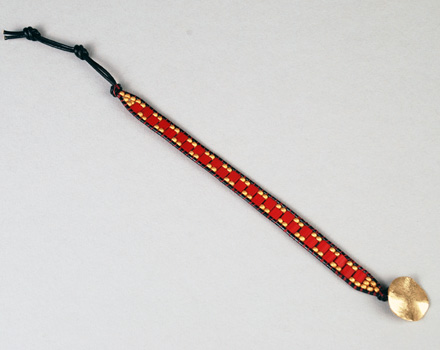
When you are ready to add the Tila bead string it on just as you did with the seed beads. We have paired an 8/0 seed bead with the Tilas in an alternating pattern for visual interest.
The Tila beads have two holes so once you string through the first hole remember to fully secure the bead by stitching through the second hole.
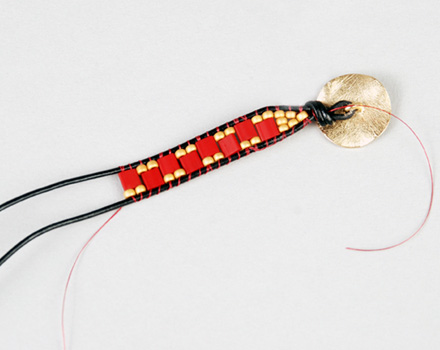
Continue weaving your beads onto the leather cord with your thread in the same over and under motion.
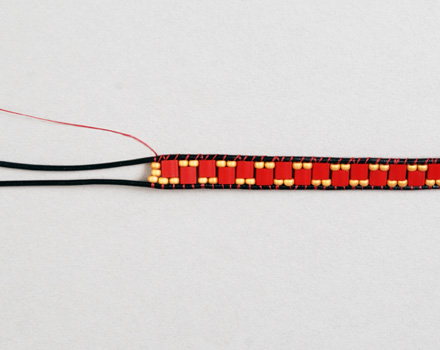
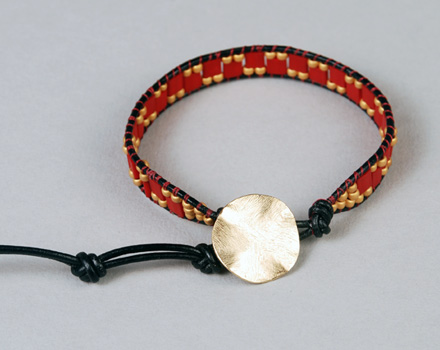
When you measure your bracelet on your wrist remember that the knot and loop closure will add at least an inch to the overall length of the bracelet.
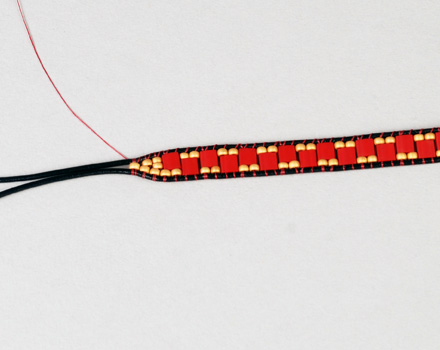
Once your bracelet has reached the desired length taper back down to a single 8/0 seed bead. The last few rows should be reinforced a couple of times with your thread.
Knot your leather together with the thread in an overhand knot. The thread end can be looped a couple of times through the leather knot before the knot is completely tightened.

Put a small amount of the Hypo Cement onto the leather knots and anywhere you have a thread tail. Trim off thread ends once your glue has dried.
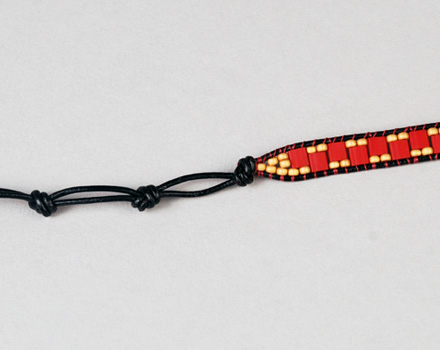
We sometimes like to add an additional loop at the end of the leather to make the bracelet adjustable. This can be especially useful if you are making a bracelet for someone else. If you don't end up needing the extra length, simply trim off the loop above the second knot.
When making a wrap bracelet you can really play with the patterns and bead combinations. Try pairing Tilas or Half-Tilas with 11/0s or Delicas. You can see some great examples in this blog style post about wrap bracelets.
Here is a guideline for the amount of leather needed for different length wrap
bracelets (1x = once around your wrist etc.)
1x = 2ft.
2x = 3.5ft.
3x = 4.5ft.
4x = 5.5ft.
5x = 6.5ft.
Adding thread is an important skill to learn when making wrap bracelets. Sometimes the thread knots or breaks and sometimes you just run out. When adding your new length of thread you want to overlap it through the beads already on the bracelet. Start 3 to 5 rows back and simply follow the same path as your first thread. I try to avoid making any knots since it is hard to hide them on the wrap bracelet. Once I'm done with the bracelet I put a dot of glue on each side of the bead where thread was added. Trim off the tails once your glue has dried.
For more detailed instruction on adding thread please visit our leather wrap bracelet instruction page. Happy beading!